Introduction
Kayra will start with the Pimoroni Servo Controller because this controller is based on the Raspberry Pi Pico 2040 chip running Micropython. The intention was to keep the complexity of the programming languages for Kayra low. Ideally, hobbyists and students only need the knowledge of Python and can work on all levels with Kayra:
- controlling Kayra’s local servos and reading sensors
- adding a Raspberry Pi to the mix and doing more complex processing (like image recognition)
- connecting to a PC, communicating with it and using it’s computing power for more machine learning
Setting up the Pimoroni Servo Controller
First up, get yourself the Servo Controller and a USB-C cable.
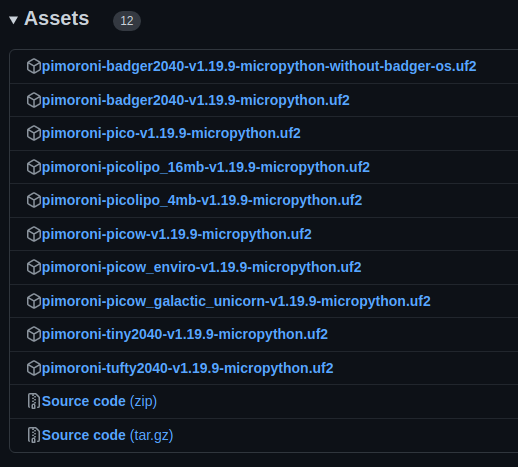
For the controller to run, you need Micropython installed on it, so download the latest image (with the extension .uf2) from here. At the time (end of October 2022) of writing this tutorial, it was the file / version: pimoroni-pico-v1.19.9-micropython.uf2
Put it into Bootloader Mode (the mode that allows the controller to receive an “OS” / image update, i.e. not code the works on Kayra, but the code that executes Kayra’s code) by pressing the Boot/User button WHILE connecting the controller to your PC. Your file explorer should show something like this:

You copy the downloaded .uf2 file to this “drive” (shown as RPI-RP2 in the file explorer), once the copy process is finished, the controller will automatically disconnect from your PC and “reboot” which is normal. It will then have booted into the Micropython environment.
Installing Thonny
We’re using Thonny for (Micro-)Python development, it’s free and easy to use without too many bells & whistles. Most importantly it works nicely with external hardware that runs Micropython so that you can develop on the computer and execute on the controller.
So, on Linux install it by entering
pip install thonnyStart Thonny (your servo controller is still connected) and select “Interpreter” from the “Run” Menu showing you this dialog:

Select “MicroPython (Raspberry Pi Pico)” on the first dropdown and “Board in FS mode” in the second. Please memorise the serial port, here in the screenshot it is “/dev/ttyACM0”. You may need to modify the port in the example codes. Ideally, Thonny’s shell will show you the MicroPython REPL now

Here, you can enter
print("hello Kayra")and it should put out “hello Kayra”. This is your first code running on Kayra’s servo controller!
Getting the examples
If you want to experiment with Pimoroni’s servo examples, you can get their repo from github the examples are in the directory “/pimoroni-pico/tree/main/micropython/examples/servo2040”
You connect a servo to Port 1 next to the “reset” button (the black / GND part of the servo cable facing to the rim of the controller board), load the example “single_servo.py” into Thonny and hit play, then your servo should move!
You are now ready to really breathe life into Kayra! Move on to part two, Kayra’s servo controller software.
Leave a Reply